This past week we’ve had loads of fun creating all manner of items for the National Art Education Association National Convention. Because, if you’re going to be showing a laser machine at a fancy art convention, you better have some pretty amazing pieces to show.
First, we went really big. We created a giant (we’re talking about 3 feet in diameter and about a foot and half high), neon, acrylic spider. Lovingly named Neorachnid. It was a challenge as we had never made anything quite like it before. But it was an incredible sense of accomplishment when we did get it put all together.
Next, we created a layered scene made from five layers of ¼ inch plywood. The top layer being the cutout and engraved image of three deer, then trees, then the first mountain, then a second mountain, and finally the back panel. Of course, it also needed to be stained and glued. Needless to say, we got our hands dirty this week. But it was so worth it! To see how both of these projects turned out visit our Facebook page.
But our last project was just so neat, and so incredibly easy we just had to share. So here we are going to tell you all about how to engrave the paint right off of the canvas.

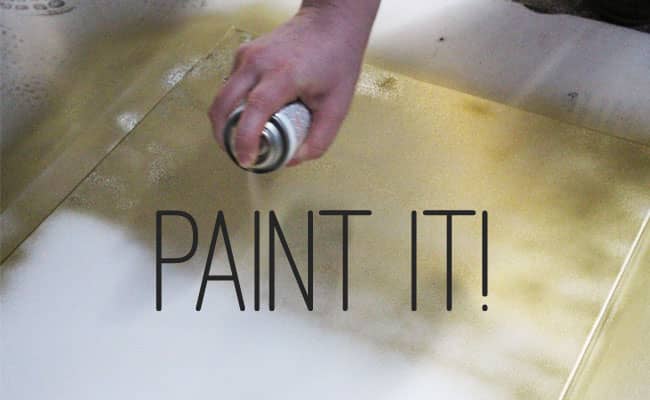
Step 1. Paint the canvas.
So far we have only tried this with one solid color of spray paint, but as time progresses and allows we intend to try other paints and effects. We have hypothesized that the reason spray paint works so well (and lasers white) is because it lays on top of the canvas instead of soaking into the fibers. As we are engraving the paint off of the canvas, the “engraved” area will be white (the color of the canvas) so darker paint colors will give you higher contrast.

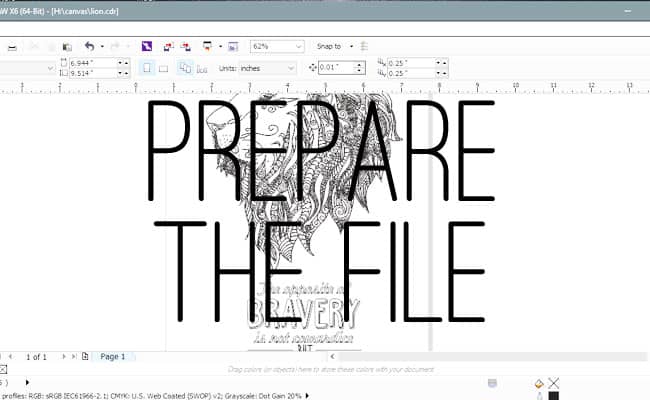
Step 2. Prepare the file.
Pull together some cool artwork, either by creating it yourself or purchasing it. We have purchased some artwork off of bigstock.com and added a quote to the bottom. We used a vector file, but there is no reason you couldn’t use PhotoGraV to create a grayscale image to use.

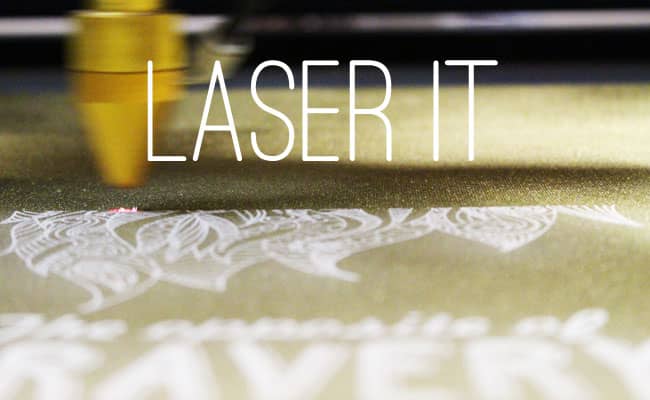
Step 3. Laser it.
Make sure to level and straighten it. We used Lasercut to create a box the size of the canvas in order to assure the art was centered on the canvas. Just make sure that layer is not selected to engrave or cut when you download the file. On our 100 watts AP Lazer SN4836 we used a speed setting of 50 and a power setting of 25. But we always recommend testing out your machine on sample or scrap material before going into the final product.
That’s it, enjoy it! Great work, now let’s find a spot to hang your beautiful artwork so that the world can adequately absorb your creative genius!

