This is a quick tutorial showing you how to “laser carve” a pumpkin with your AP Lazer machine. You can laser engrave just about any vector artwork, text, and even your brand logo onto your pumpkin and make quite a statement as Halloween quickly approaches. So here it goes – how to laser carve a pumpkin in 6 steps (assuming your artwork is ready to go)!
1. Pick it.

Choose a crisp fall day and head to your local pumpkin patch. Look for a larger pumpkin with a flat, smooth side. You may want to pick up a pumpkin for testing purposes so that you may test your design and decide on the depth of the carving.
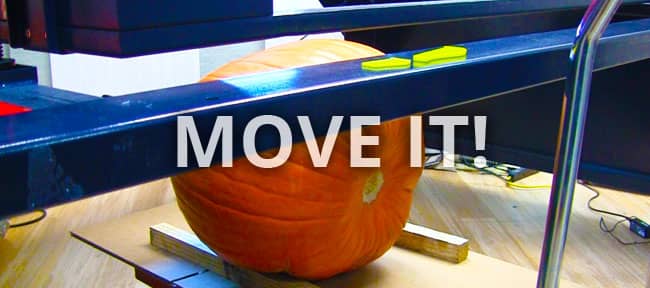
2. Move it.
This is the reason that AP Lazer is the best choice for pumpkin lasering, no matter how big the pumpkin is, you can simply roll the Z-table out from under the table to roll the pumpkin directly beneath the laser head. Make sure to unplug the table from the laser before you roll it out, which can be done by reaching around to the back, right-hand side of the laser, and pulling the cord out.
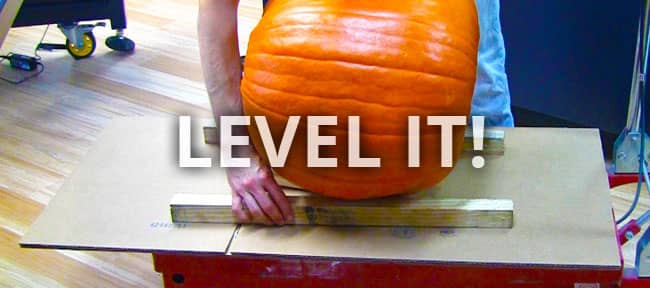
3. Level it.
Make sure to level the pumpkin as well as you can on the cart, so that the flattest side is up and it isn’t at risk of rolling away. We used two similarly sized and shaped pieces of wood on each side of the pumpkin to keep it from rolling off, and some thin wood wedges on the other two sides to further level it and keep it in place.
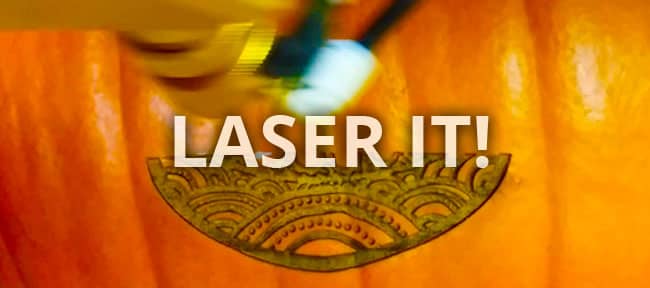
4. Laser it.
We set our AP Lazer machine at a 6 speed, 95 power, and 500 dpi. You may want to alter the settings if you want a deeper cut. We cut in about an eighth of an inch to achieve our desired effect using the 4-inch lens to combat the uneven surface of the pumpkin. The total run time was about an hour and a half. Sadly, as the pumpkin was being lasered, it did not smell like pumpkin pie as one would wish.
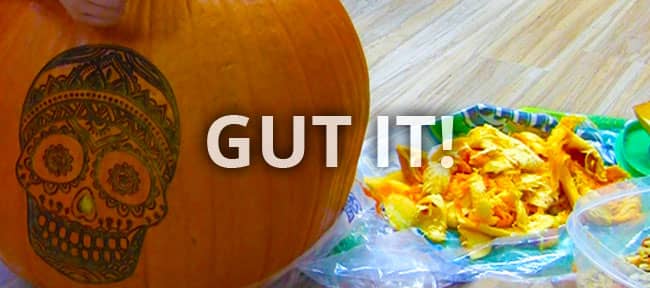
5. Gut it.
This part may have actually taken the longest, but we saved the seeds and have been munching on them here in the office for a couple of days, so it was most definitely worth it. We also cleaned it up a bit before we began gutting it. The burnt flesh of the pumpkin was left behind in the crevices and recesses so we used window cleaner, paper towel, and compressed air to clean it up. But not to worry, any black sludge left behind will just add to the creepiness of your Halloween decorations!
6. Glow it.
The best part of any project is seeing the finished product! Never having done a jack-o-lantern where it isn’t cut all the way through, we weren’t aware of how much lighting would be required to show through the flesh of the design. In the end, we used a few electric candles of varying heights (that we picked up from a craft store) to get the desired brightness, as well as the flickering glow you, would get from real candles. Now you can sit back and enjoy your beautifully and masterfully carved pumpkin. And pumpkin seeds.


